
The ongoing story
.. the bumper beam!
To give it some more protection I undersealed it, a nice coating inside and out
.
 IMG_20200408_105350 by jon sutherland, on Flickr
Brackets bolted on, and turned over to do the other side
 IMG_20200408_111904 by jon sutherland, on Flickr
Whilst waiting for it to dry, the redundant brackets were removed from the back panel
..
 IMG_20200408_115119 by jon sutherland, on Flickr
The nuts are completely round from original, no idea how they tightened them!!!! Once flats cut on the side I could undo them
. Like a nut!
 IMG_20200408_115205 by jon sutherland, on Flickr
His left me with 4 studs
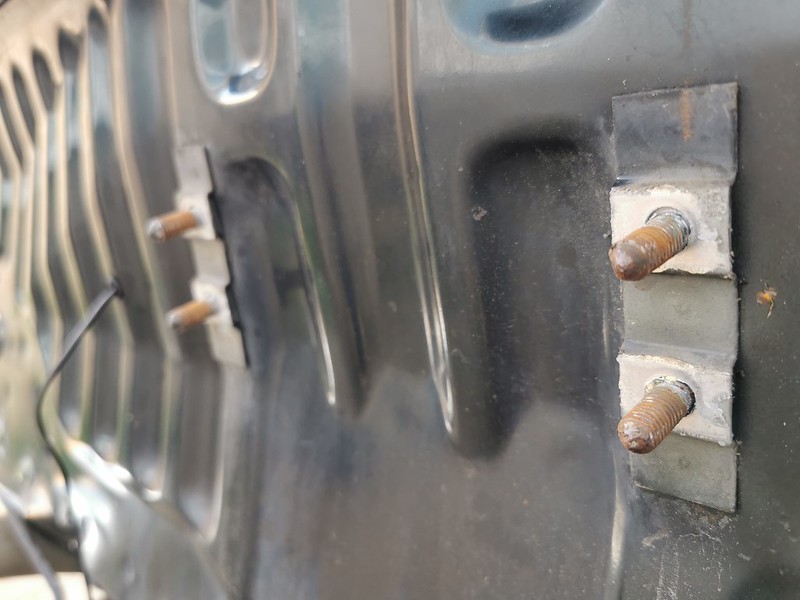 IMG_20200408_115230 by jon sutherland, on Flickr
Which I have had to put nuts on, to stop them rattling!!!! Not completely sure why they didnt just put conventional nuts on in the first place!!!!
Once dry I could bolt it on!
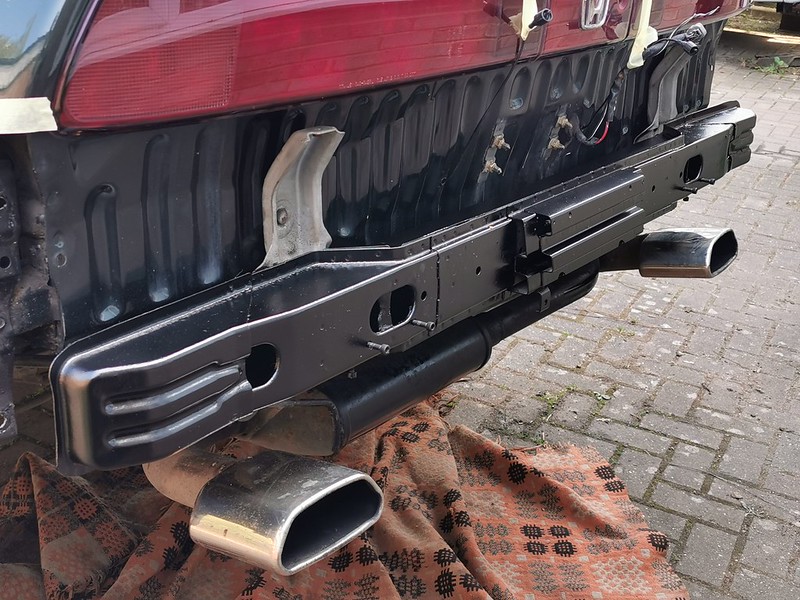 IMG_20200408_125740 by jon sutherland, on Flickr
Next up was to make some top hat washers to hold the lower bumper mounting horns, some didnt survive the disassembly from the old rusty bar
. The added bonus is these now have stainless threads!
 IMG_20200408_144610 by jon sutherland, on Flickr
Then it was lights out and refit the cover
.
 IMG_20200408_171638 by jon sutherland, on Flickr
aka Jonathan!!
'92 charlotte green auto.... as a daily
'37 Ford Y street rod......... something for the weekend!
...... if a photobucket pic is foggy, click it, and it'll take you to the clear version, yes, it's a clicking faff....


 Reply With Quote