Can't help but think you missed an opportunity with the horns there, Sudesh...
http://www.hornblasters.com/video.php


Can't help but think you missed an opportunity with the horns there, Sudesh...
http://www.hornblasters.com/video.php
ex owner - various Hondas inc 03 NFR NSX-T
Current fun car Lotus Evora 400
So are the new horns less noddy car sounding than oem? I never use the NSX horn as it's embarrassing. Aren't all Japanese cars the same or at least of that era?
Yeah its a much nicer sound than the OEM horn. Never like the sound of the OEM one either.Originally Posted by m666 edd

lol remember seeing that before.
 Platinum Member
maybe not quite as loud, but i've just upgraded my NSX horn to this...
a compact twin tone air horn!! from Halfrauds of all places, and a surprisingly cheap at £20!!!
aka Jonathan!!
'92 charlotte green auto.... as a daily
'37 Ford Y street rod......... something for the weekend!
...... if a photobucket pic is foggy, click it, and it'll take you to the clear version, yes, it's a clicking faff....
 Administrator
Great timing on this post Sudesh ... thanks to your link and a subtle hint, Santa delivered me the very items!
So now with this post to hand I'll know just where to install. Ref the extending of OEM cables, any key points to be mindful off please?
regards, Paul
Senninha
'Too many manufacturers today are obsessed with lap times and power outputs at the expense of emotion and fun' Colin Goodwin
S2 is signed by the NSX Project Leader Shigeru Uehara
Hi Paul,
No problem at all, I like the locations myself as the horns are in a dryer place so should last allot longer, plus it just gives the bumper a cleaner opening at the front.
Here you go, just for you lol
Starting at the OEM horn location, you will obviously need to unbolt the horns, its a tight squeeze in there but manageable, I didnt take photos of this as they are already gone from my car and I didnt want to remove the horns from Andrews car without permission first.
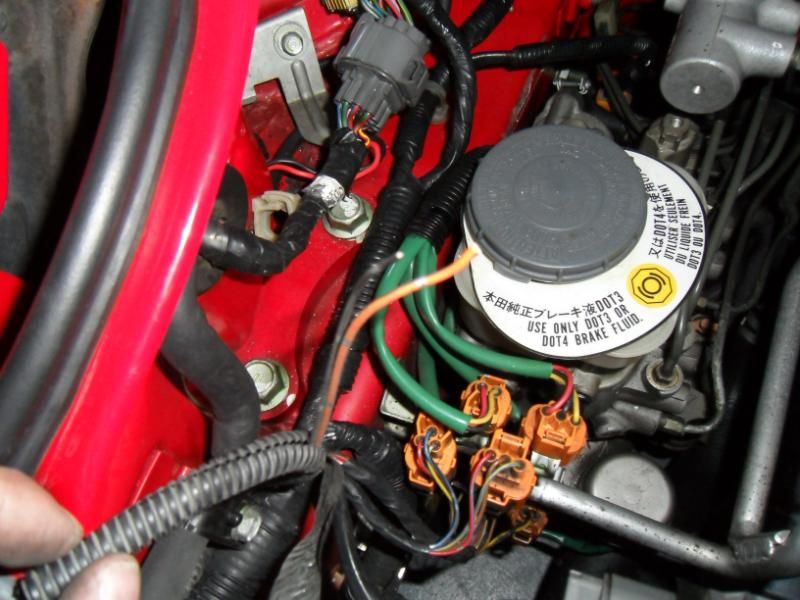
So starting from the cables, you will notice 2 cables either side going into the horns that have a typical honda plug. Just unplug both left and right from the horns
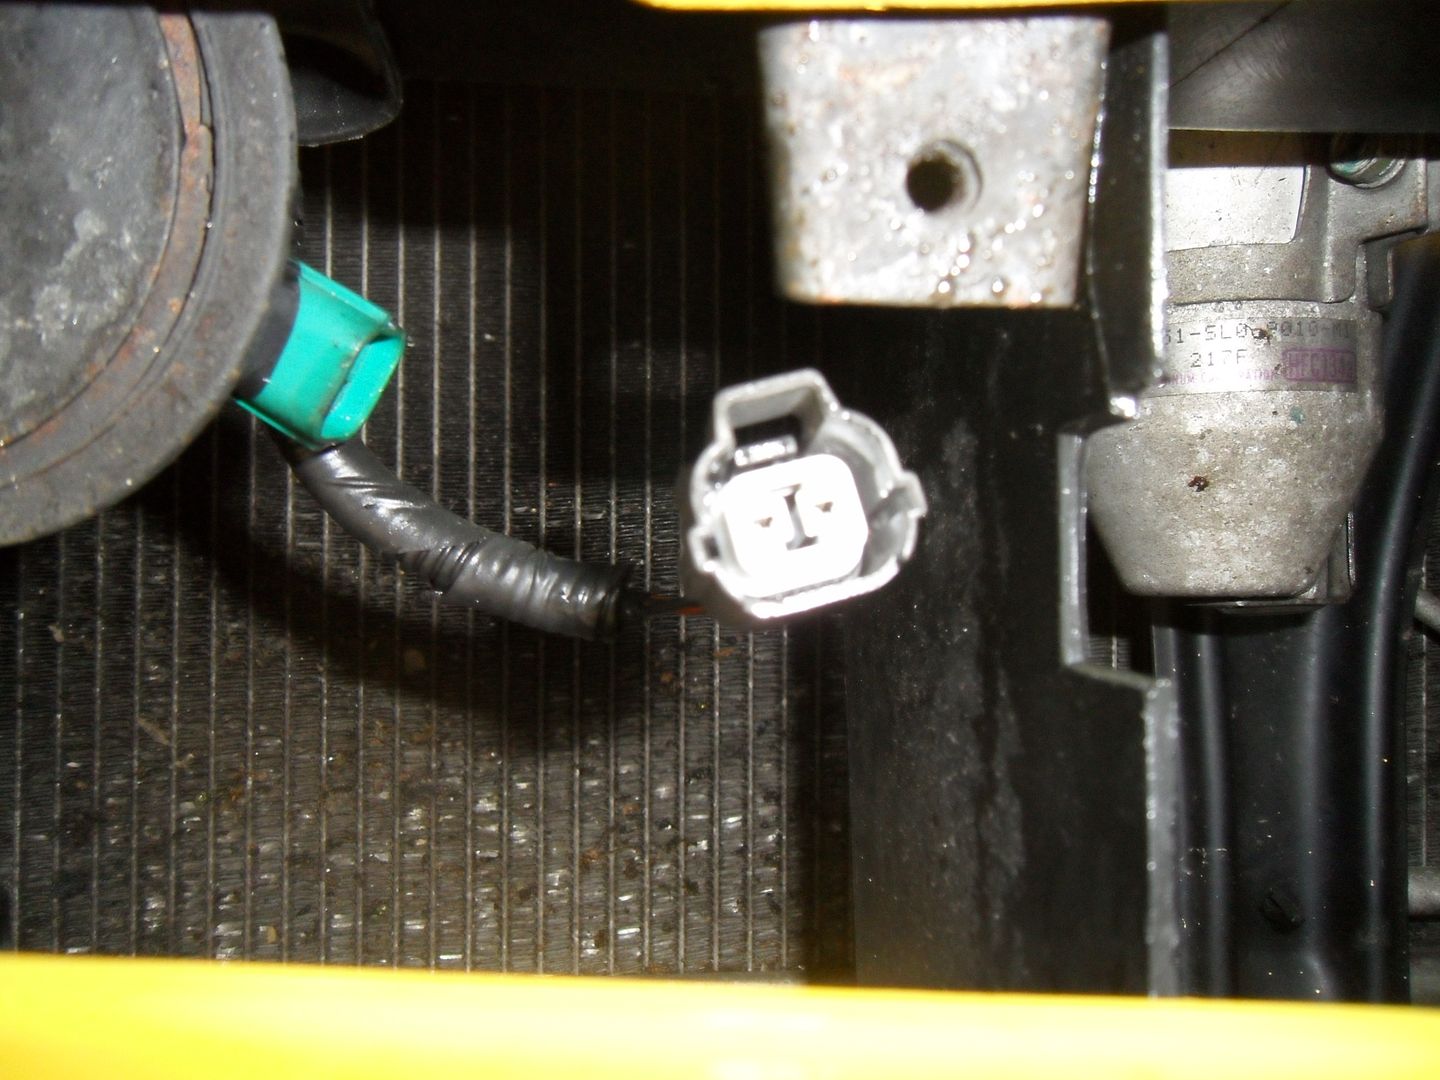
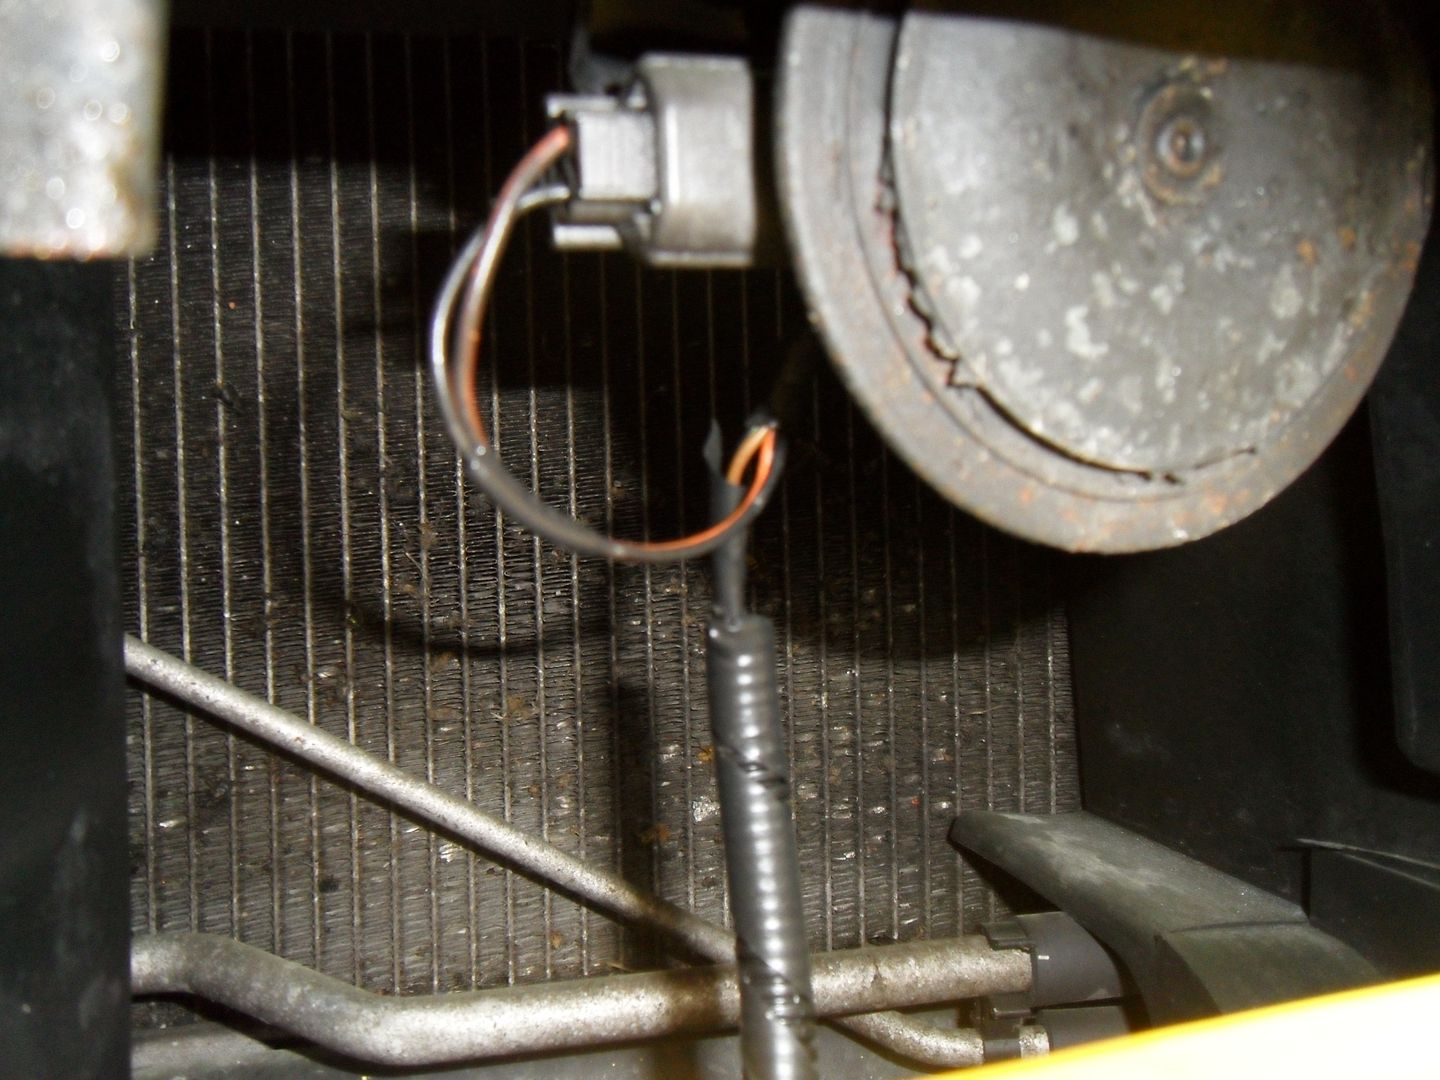
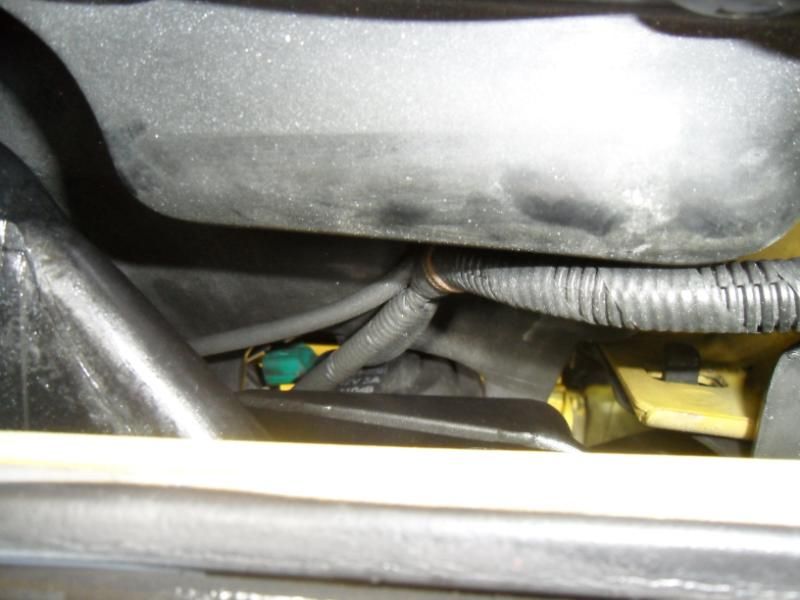
Open the bonnet and in where the washer bottle is and bonnet latch you will see where the 2 cables come up to the top, one to the left of the latch and one to the right.
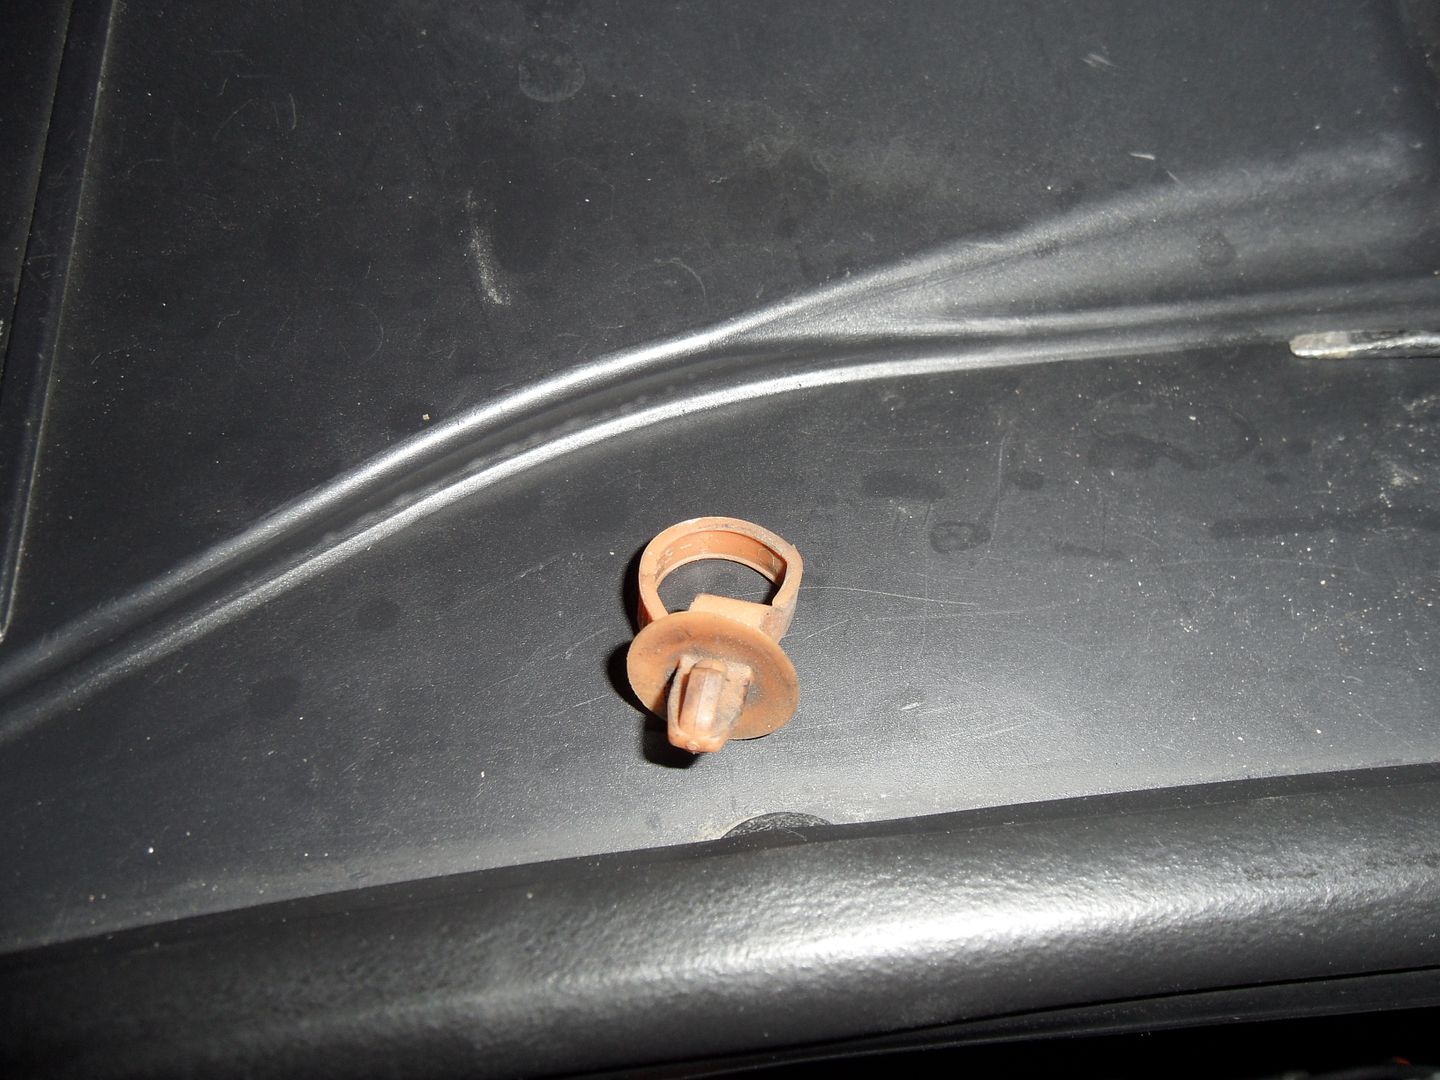
Starting with the left one, remove the brown cable tie that holds the cable in place, you wont need this again for this side, but I always keep the anyway
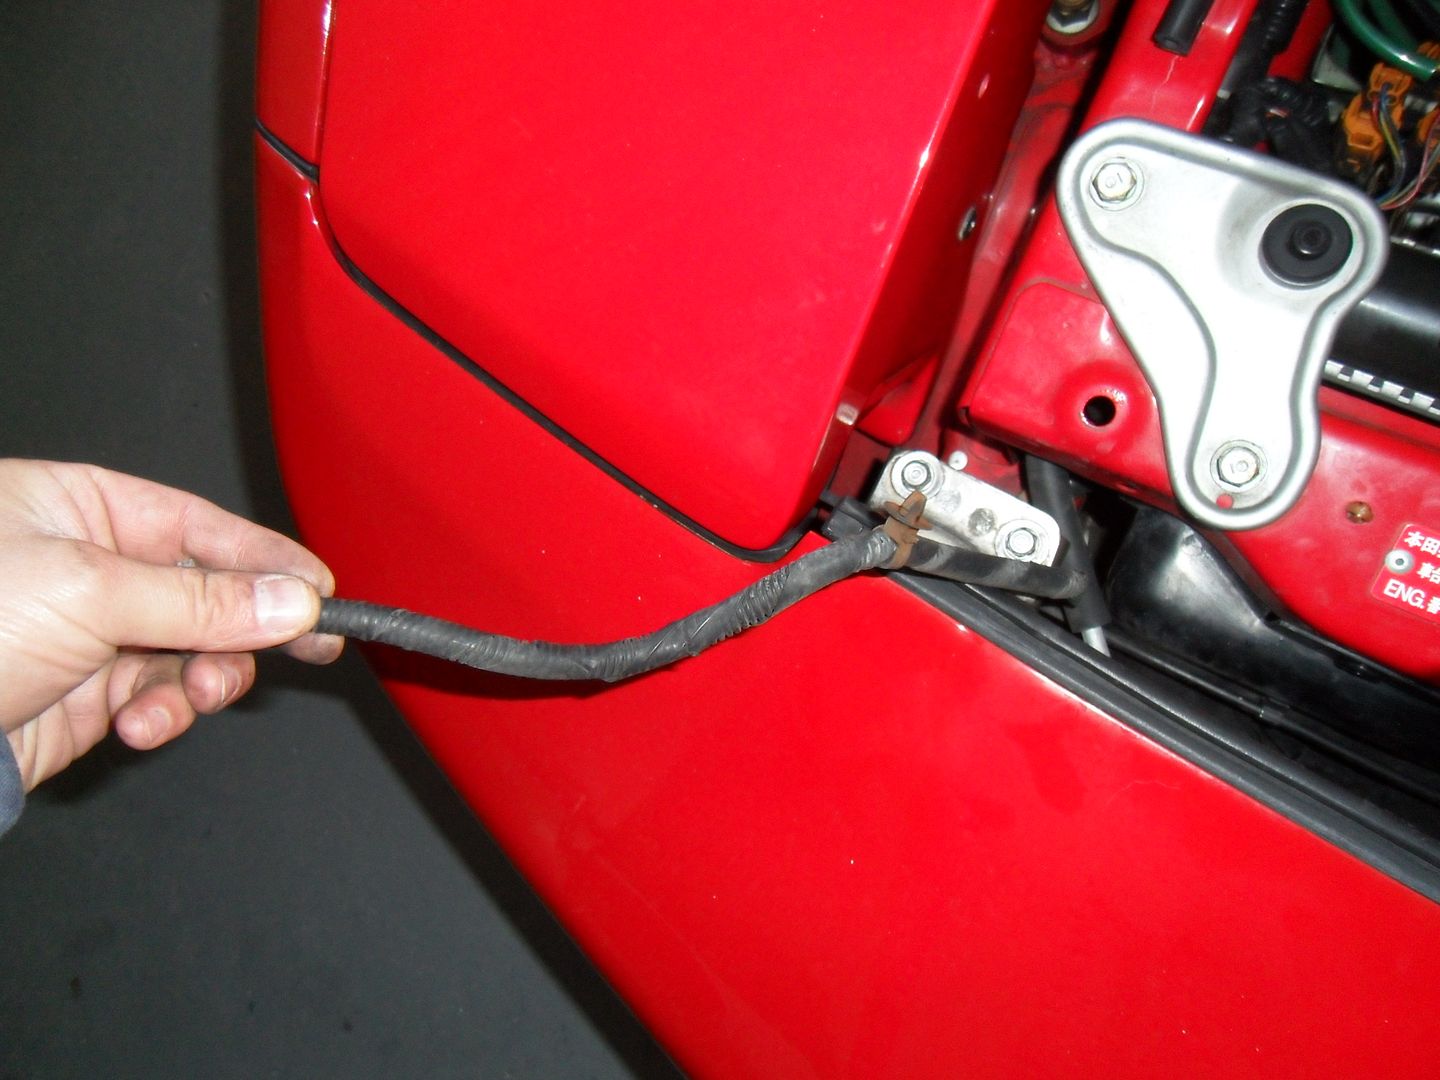
With it removed pull the cable up and you should have something like this
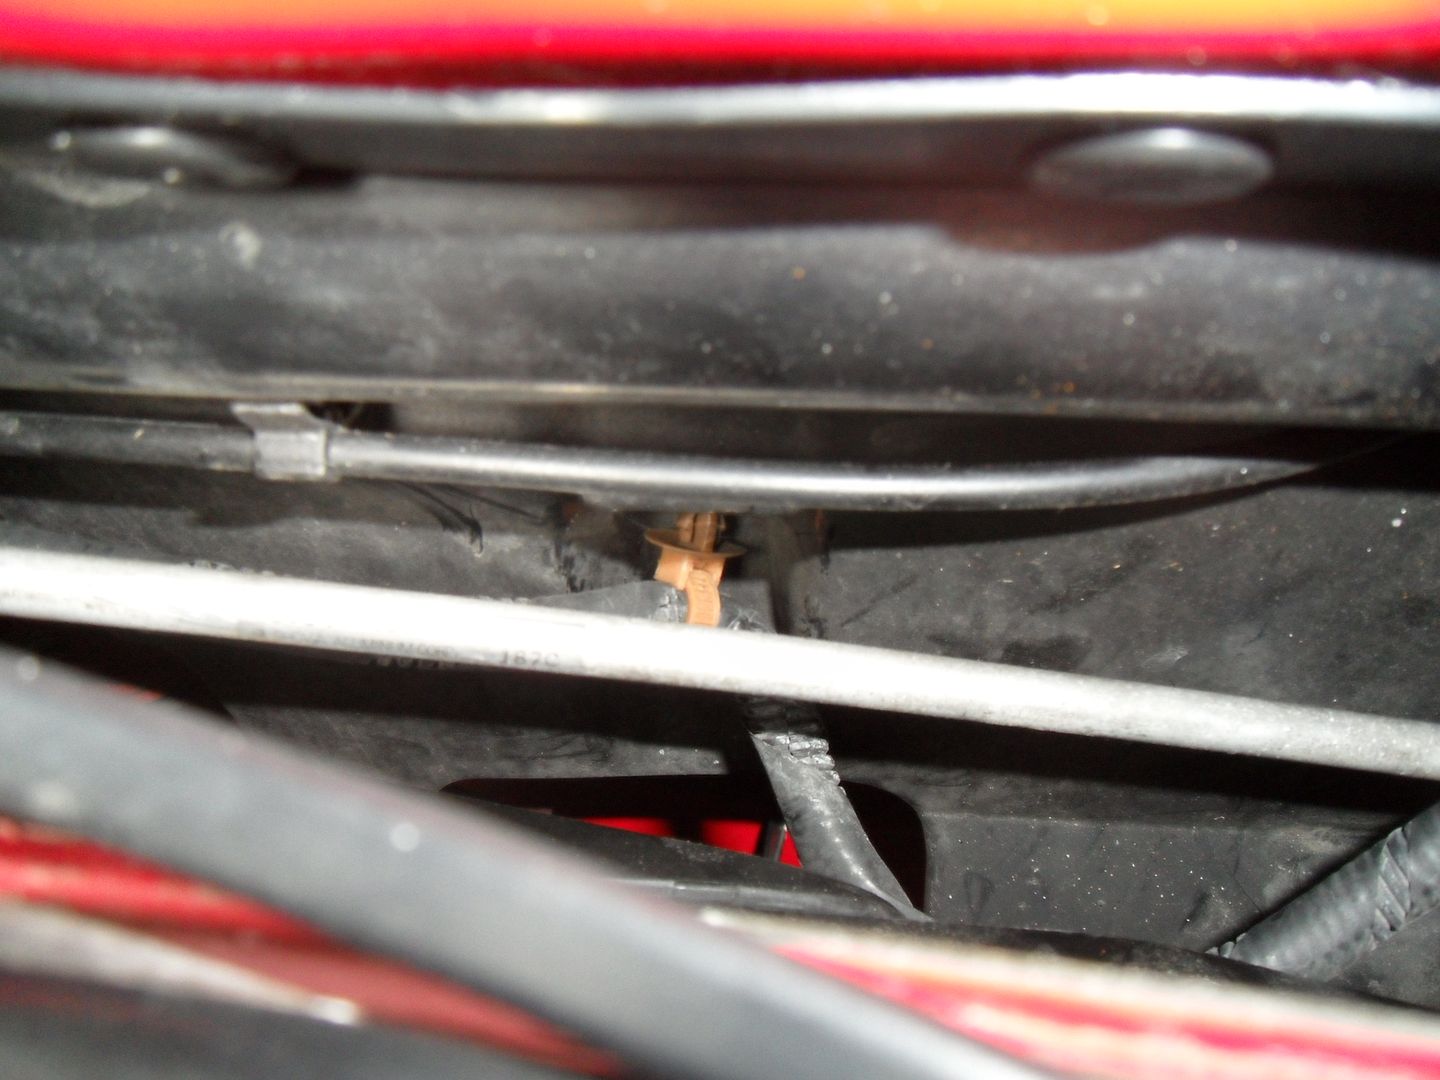
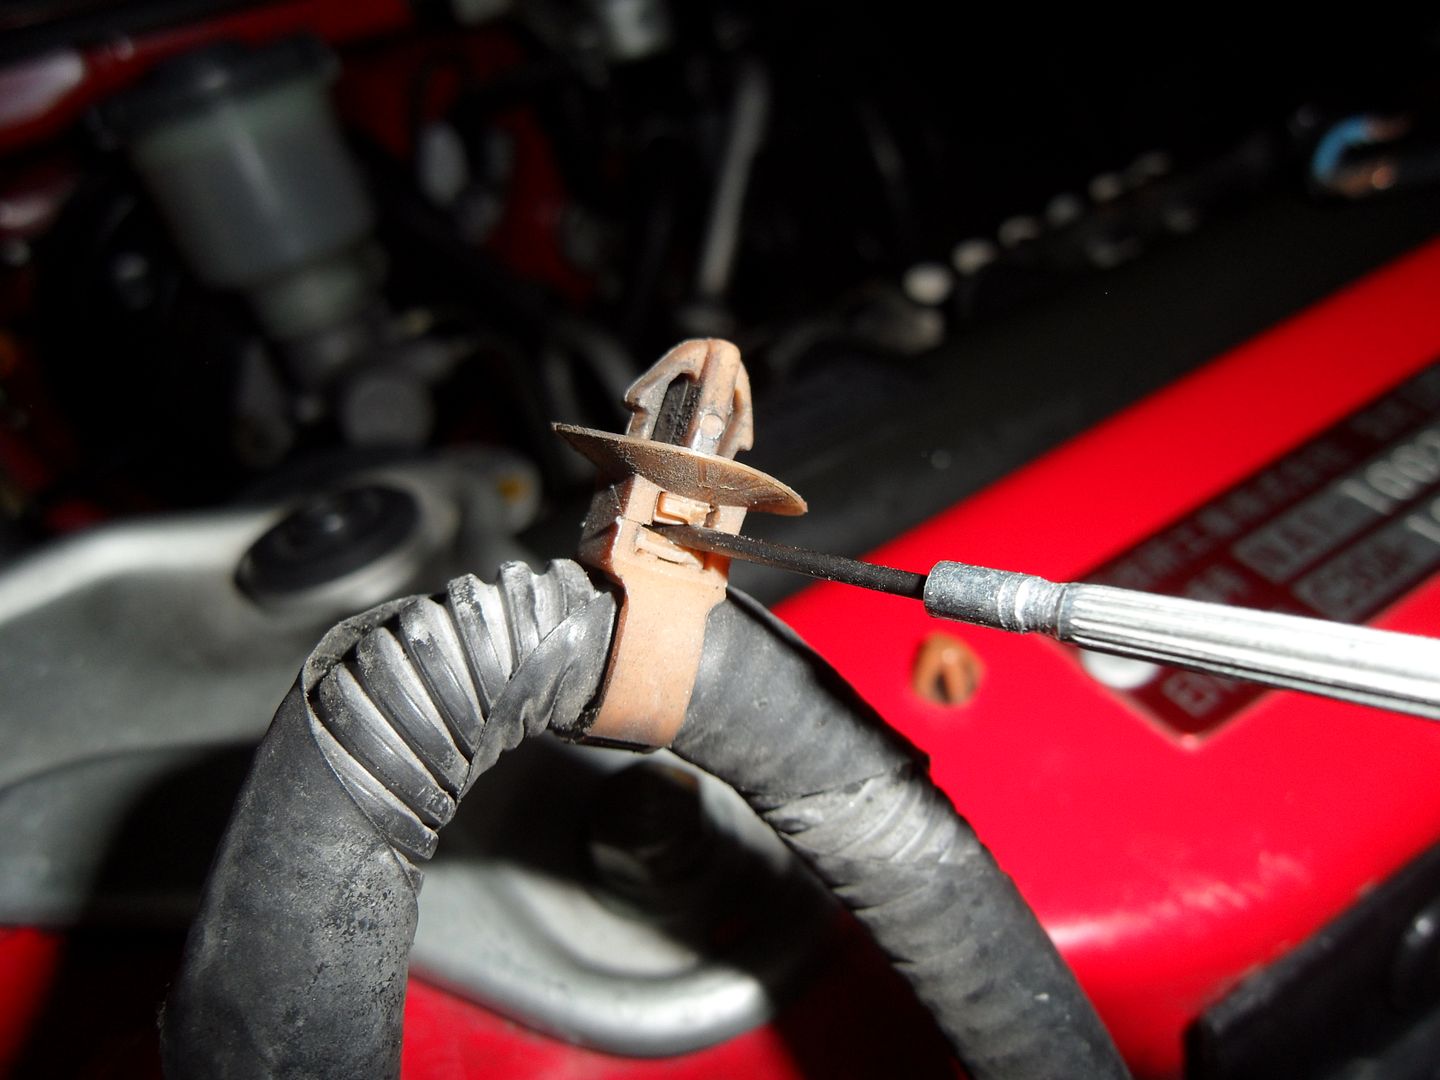
Remove the cable tie
Now with the cable free and the brown tie removed, strip back/remove the old masking tape thats on the plastic cable covering, cut off the oem honda plug and pull pull the 2 wires out and down the plastic cover a bit
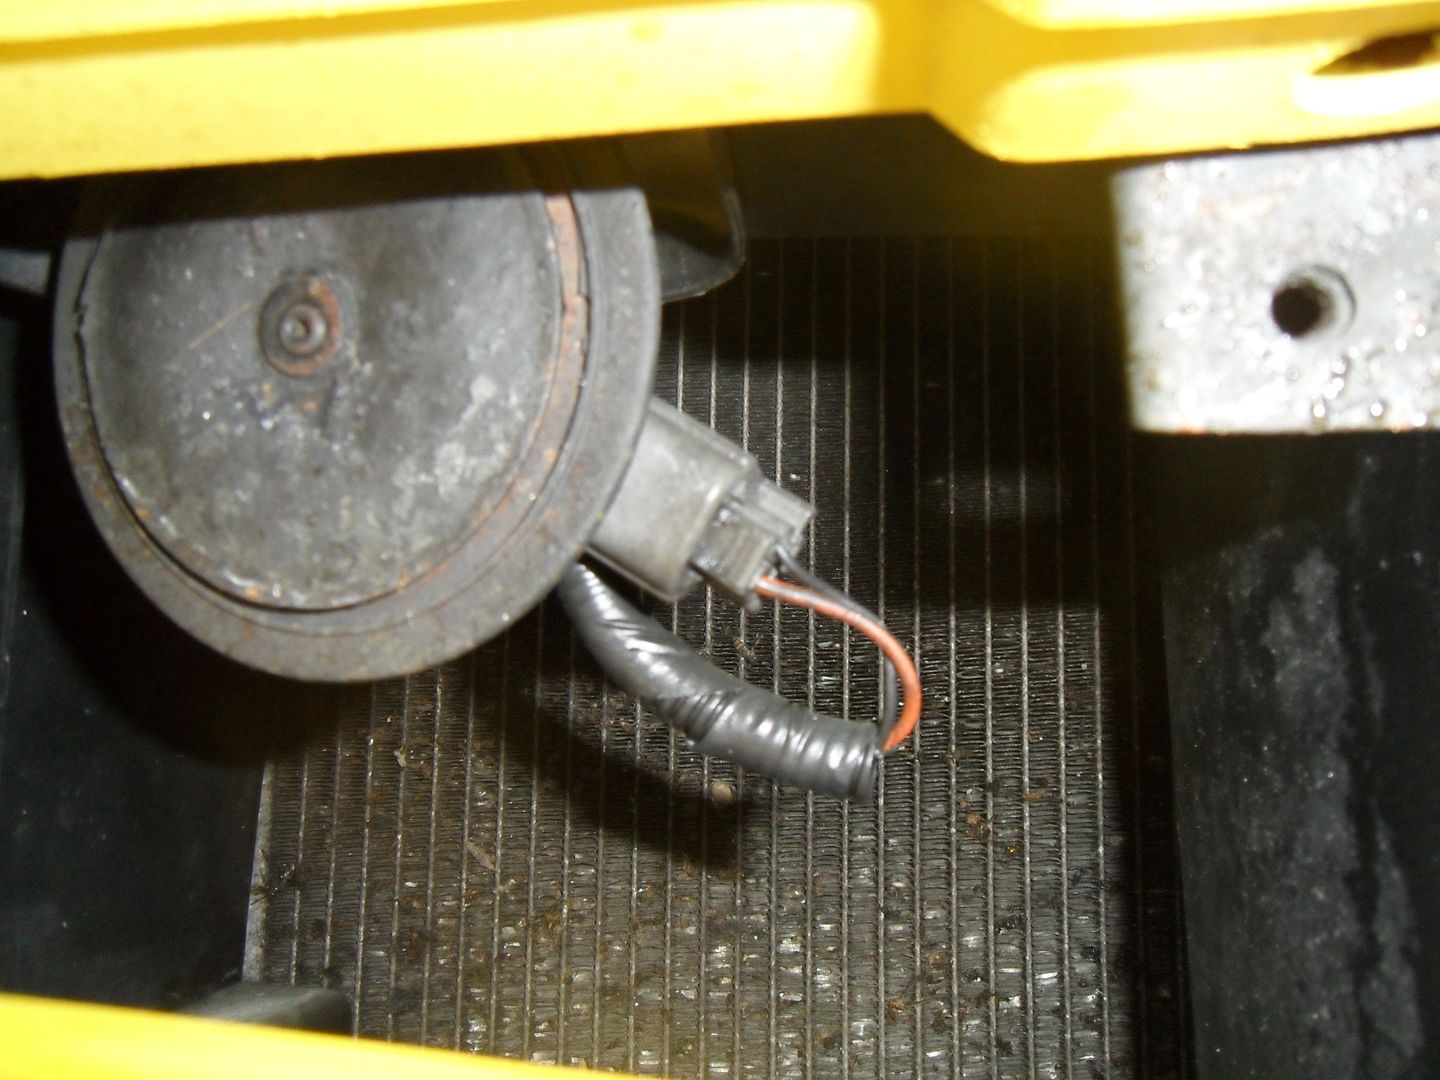
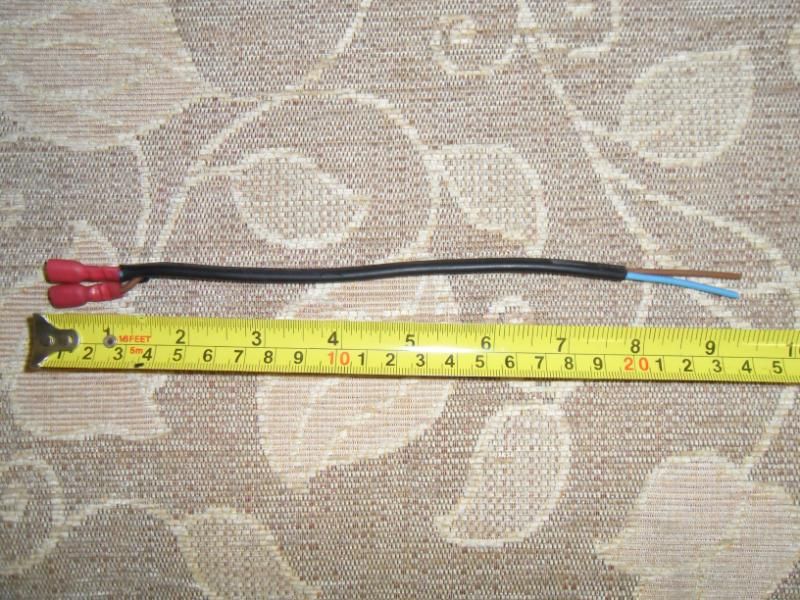
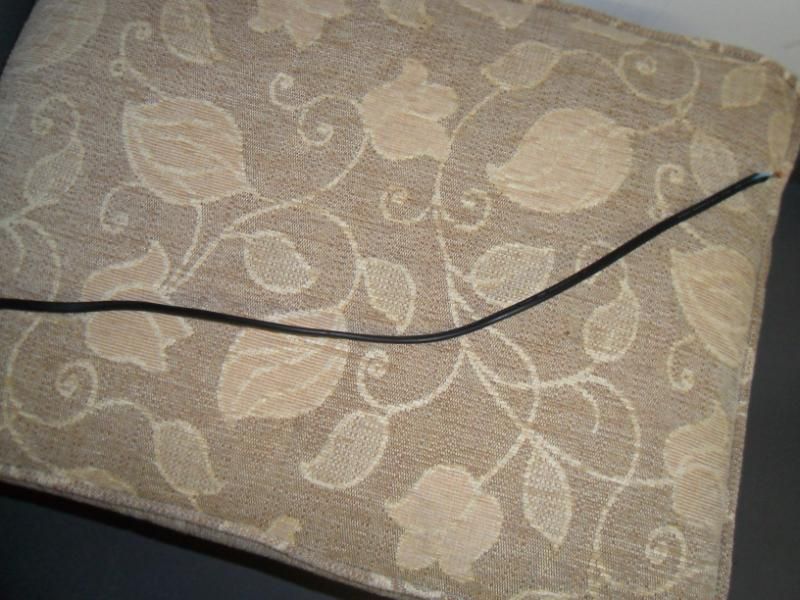
Strip/bare the 2 wire as you will either need to use scotch locks or similar product or if your like me, you'll be using solder. Next is the new cable that I use to extend the wiring, its basically the same cable used on plugs for DVD playes, stereos, TV's and so on, it insulated, 2 wires inside and being with the outer black insulation, it hides well on any car.
The length I cut and 2 spade connector attached as the back of the horn is male spade
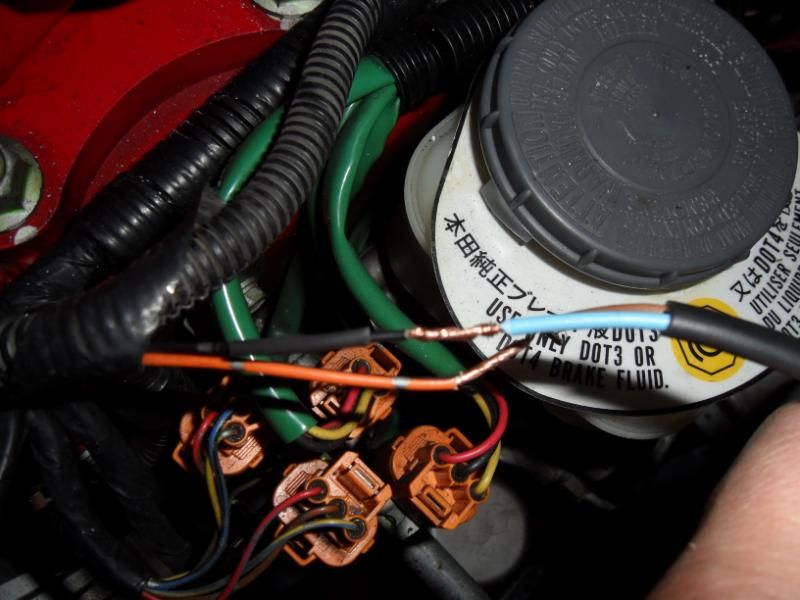
With all wires bare, mate them up lol
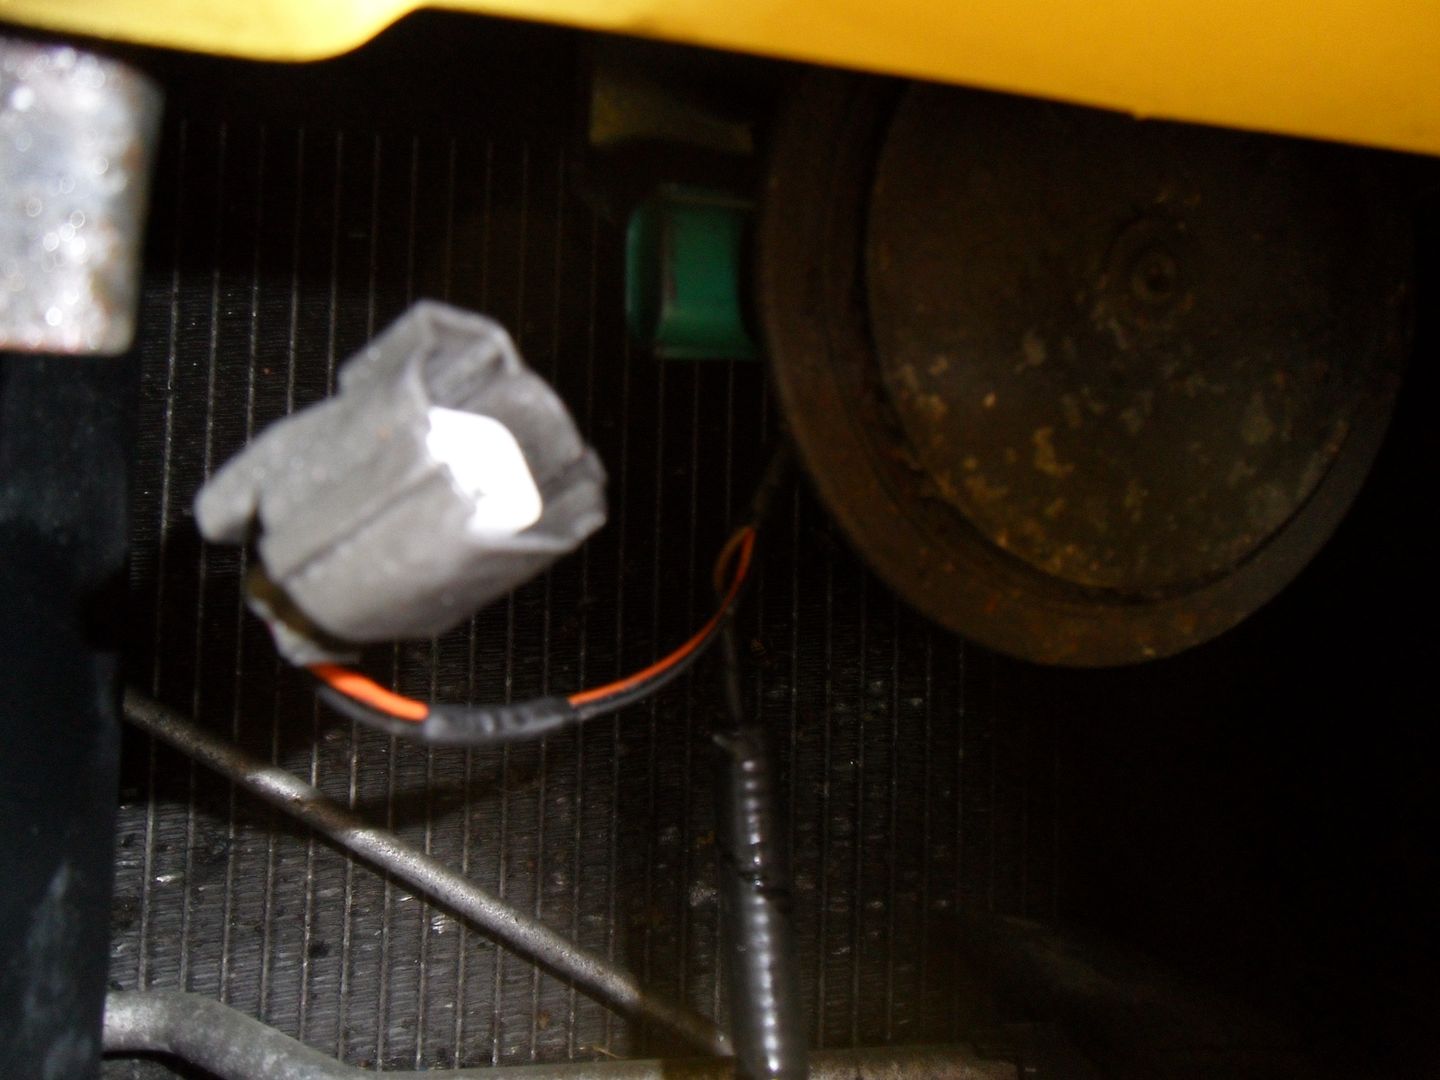
I then used some solder for a good connection, mask the cables or if you have shrink tube use that, obviously put the shrink tube on first.
When all that is done put the cable back into the factory plastic sleeve and you should have something that resembles this, nice and neat and no sign of the connection.
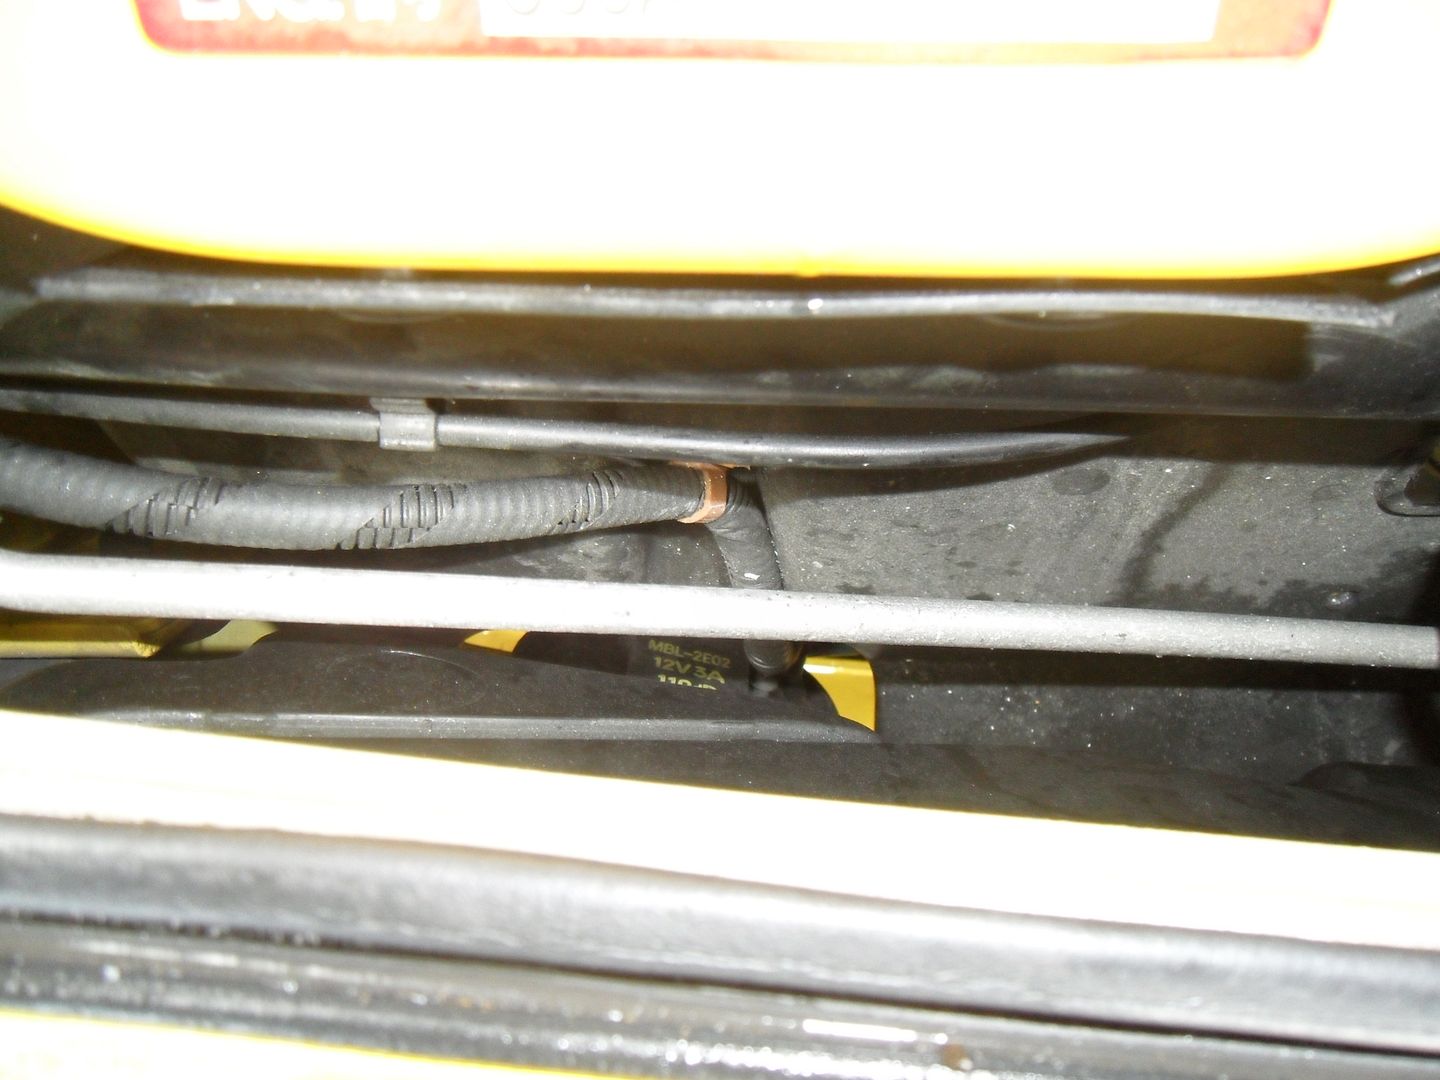
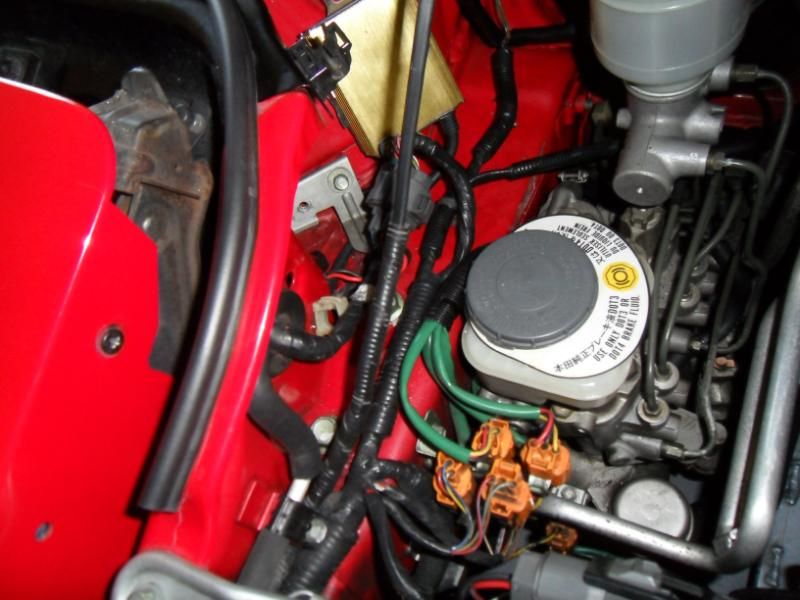
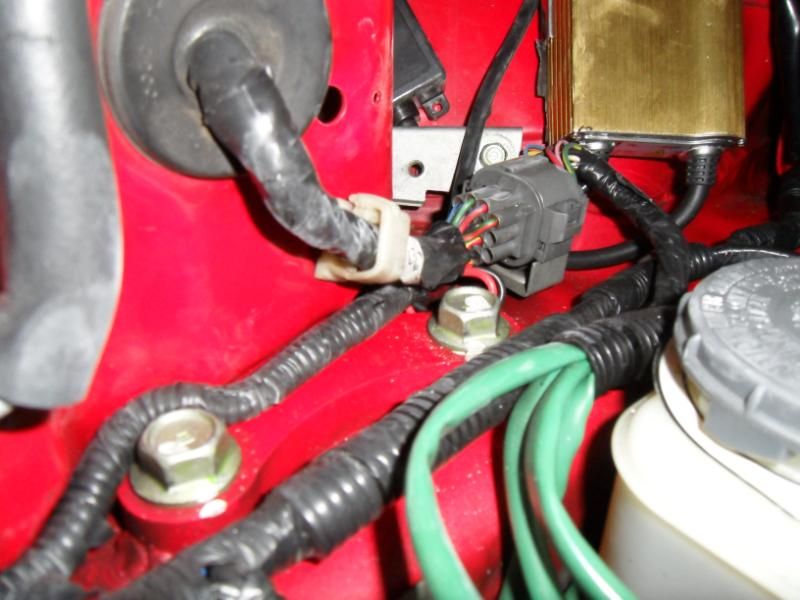
Choose the location of where you want the cable sit, I chose here:
 Posting Permissions

 Reply With Quote