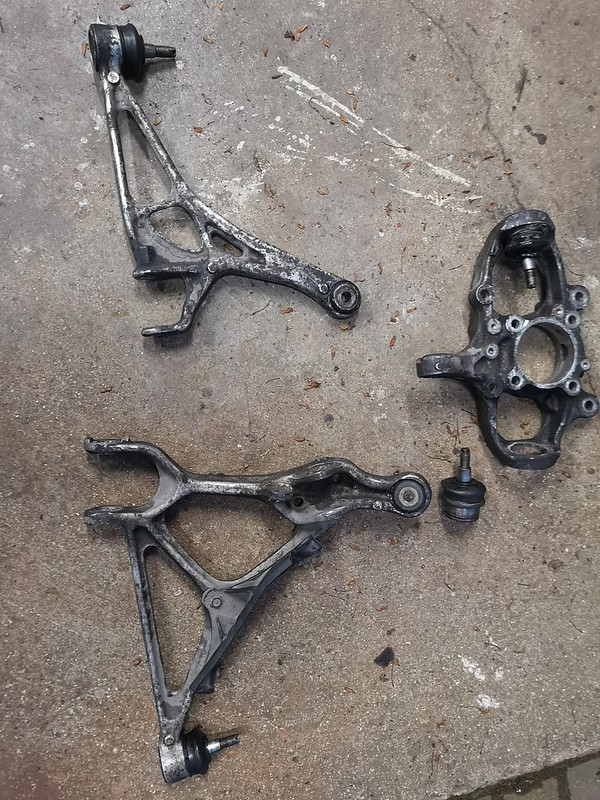
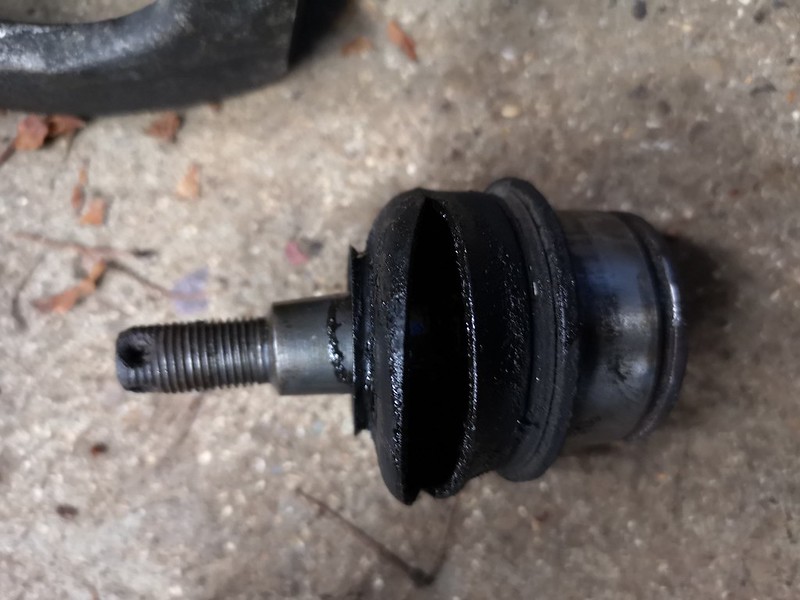
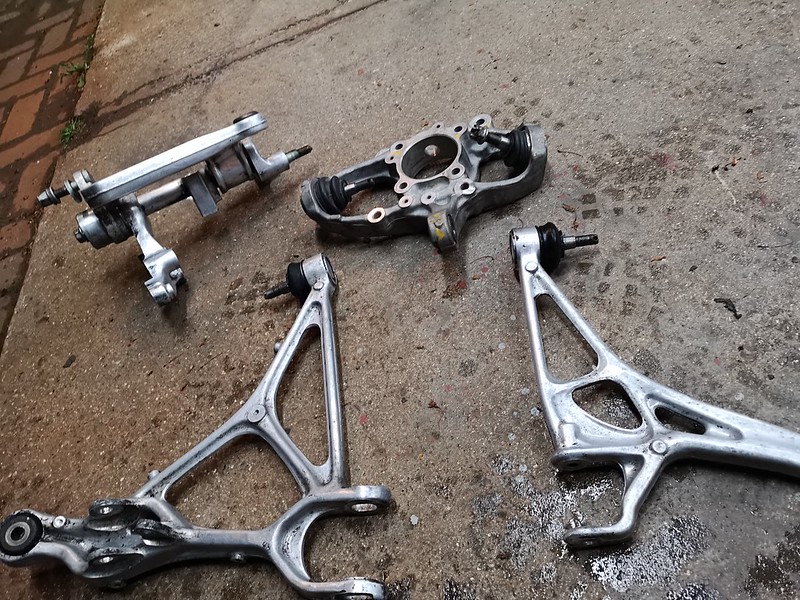
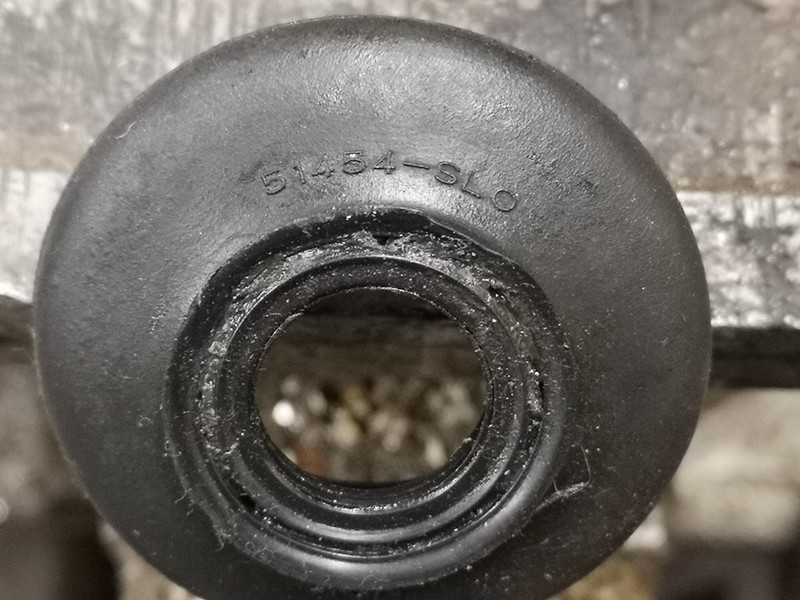
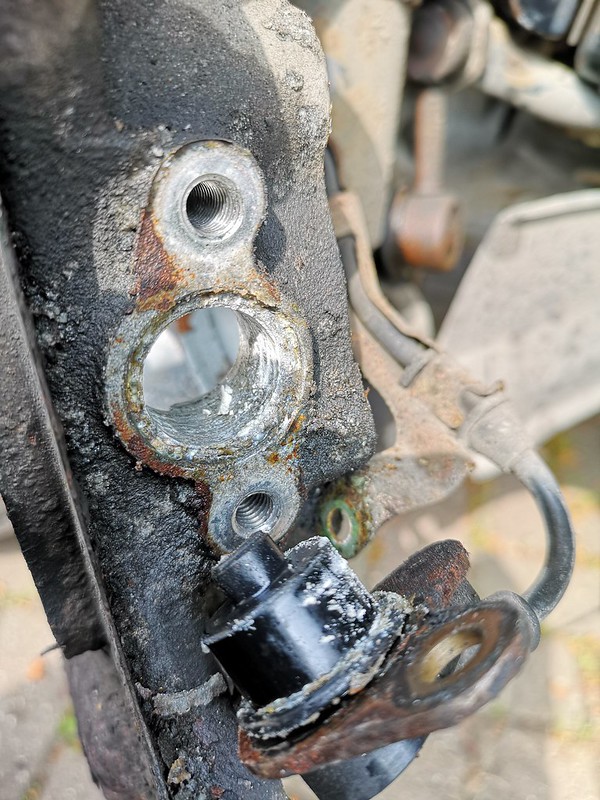
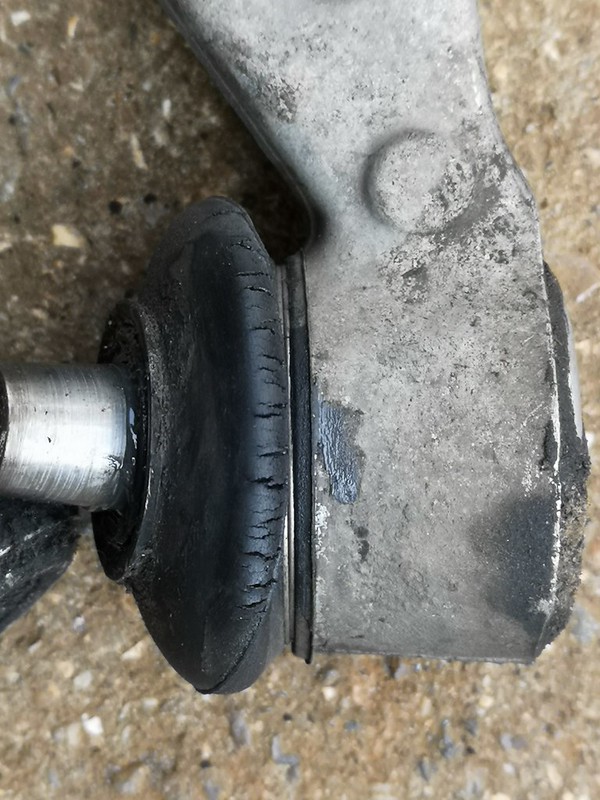
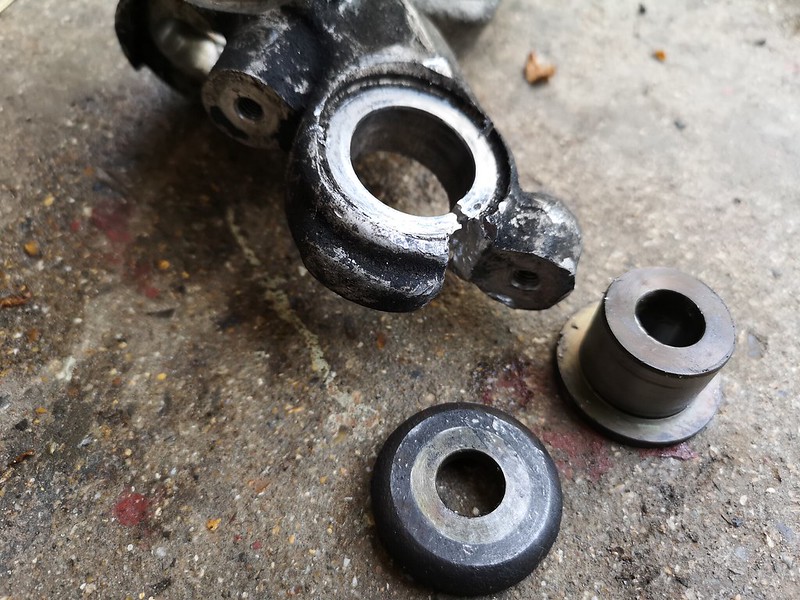
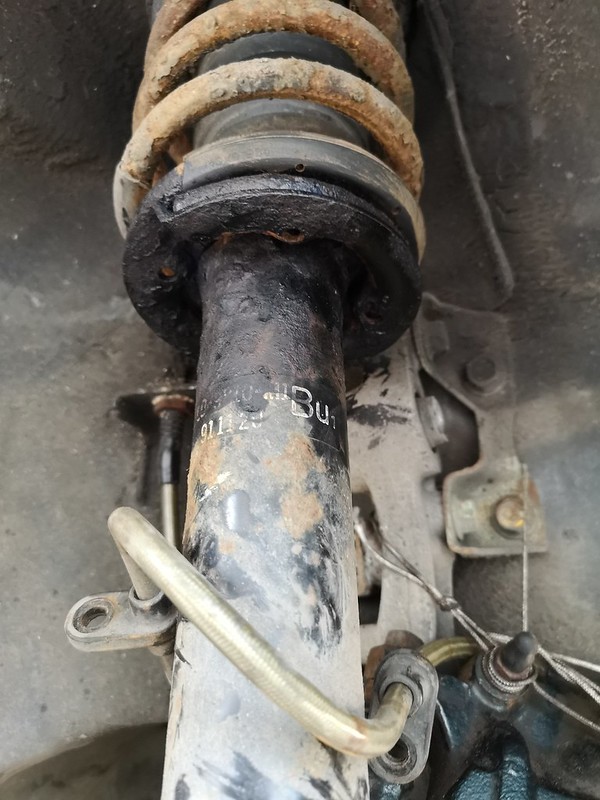
ball joints are 'rare parts' items from the states, fitted into a spare set of uprights.... i have bought some generic after market rubber boots for the wishbone/compliance bar joints... a case of who's got them in stock in the right size.... as the car is going back together this weekend.
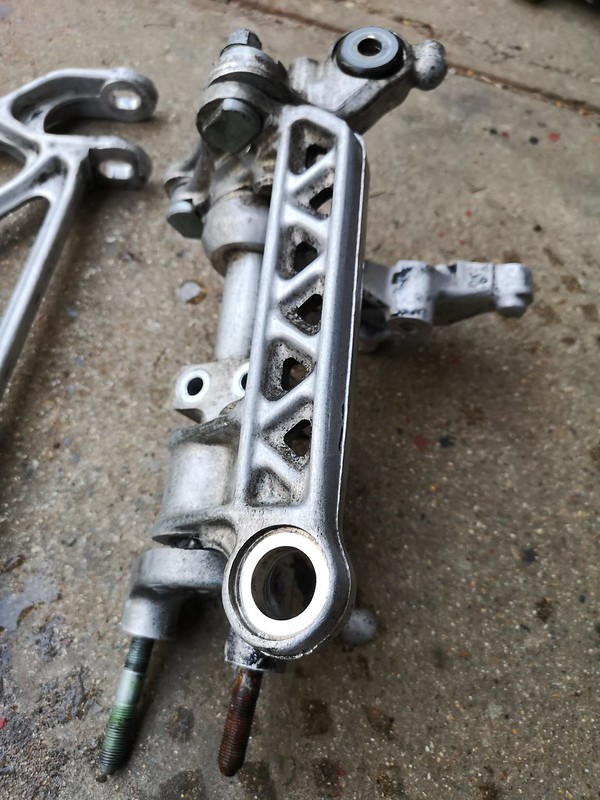
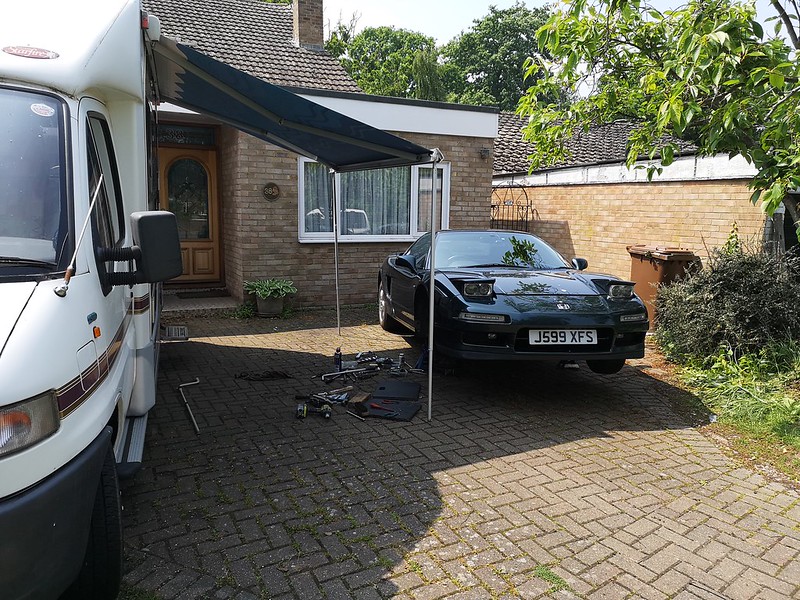
the passenger side is done and back together.....
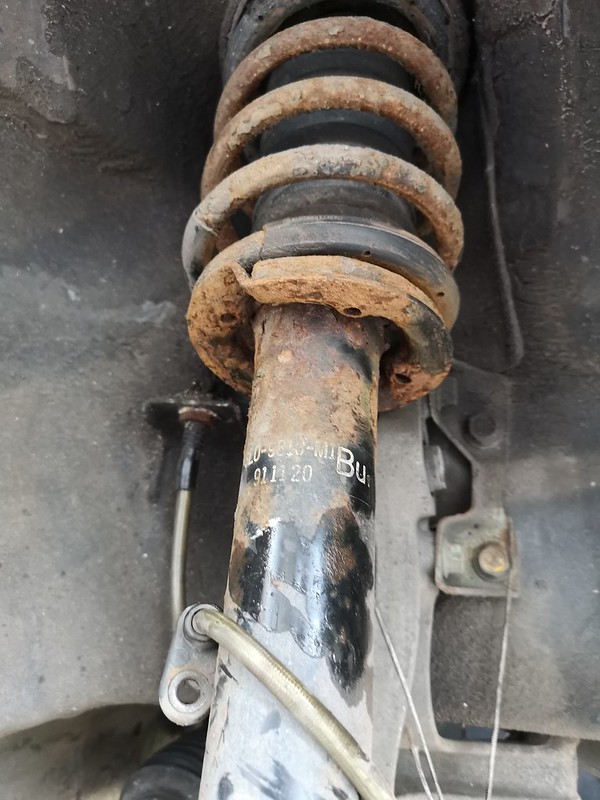
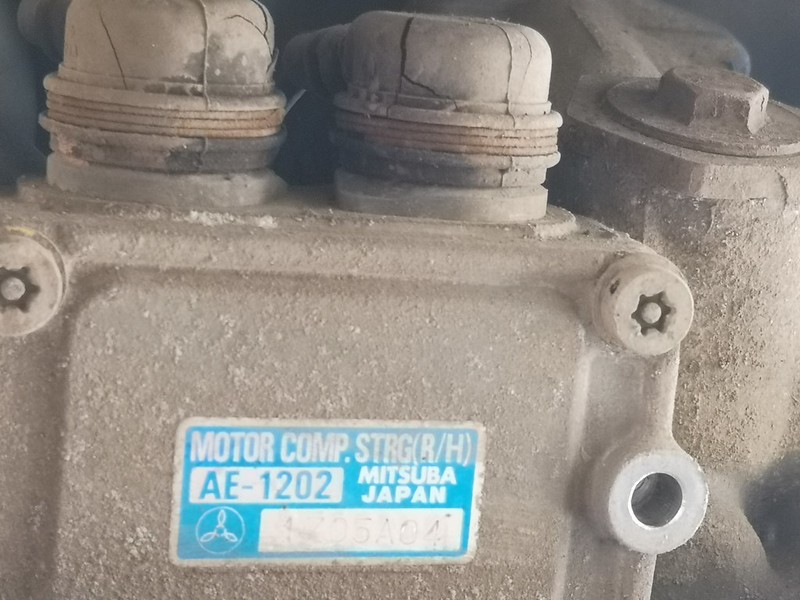
depending how the drivers side goes, i might be able to swap in a replacement steering rack, as mine is showing most of the wear signs that D1guy lists as reasons to rebuild.... granted the replacement s/h one may not be any better, but i KNOW the one currently in the car needs attention!
aka Jonathan!!
'92 charlotte green auto.... as a daily
'37 Ford Y street rod......... something for the weekend!
...... if a photobucket pic is foggy, click it, and it'll take you to the clear version, yes, it's a clicking faff....


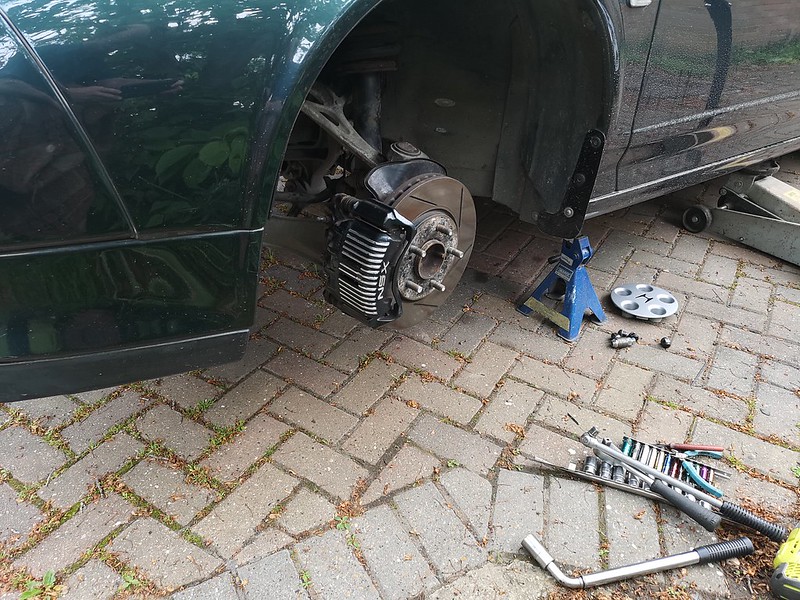
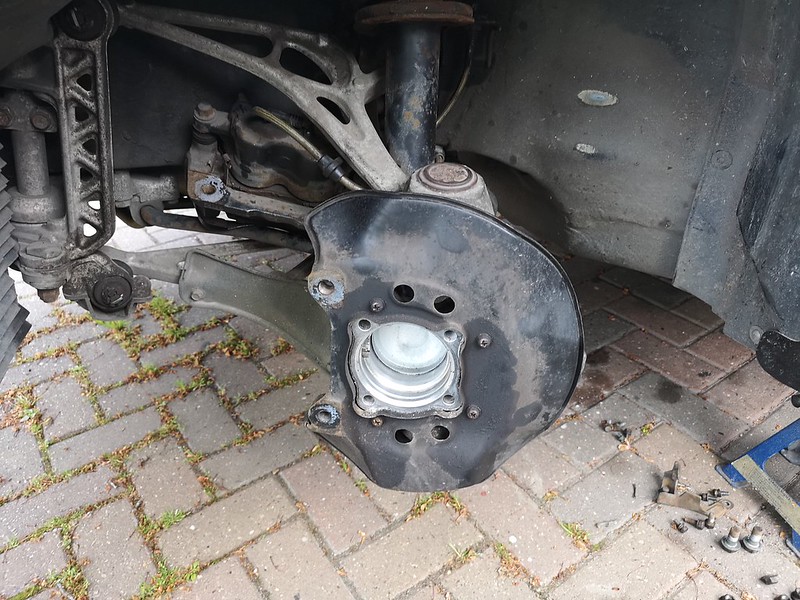
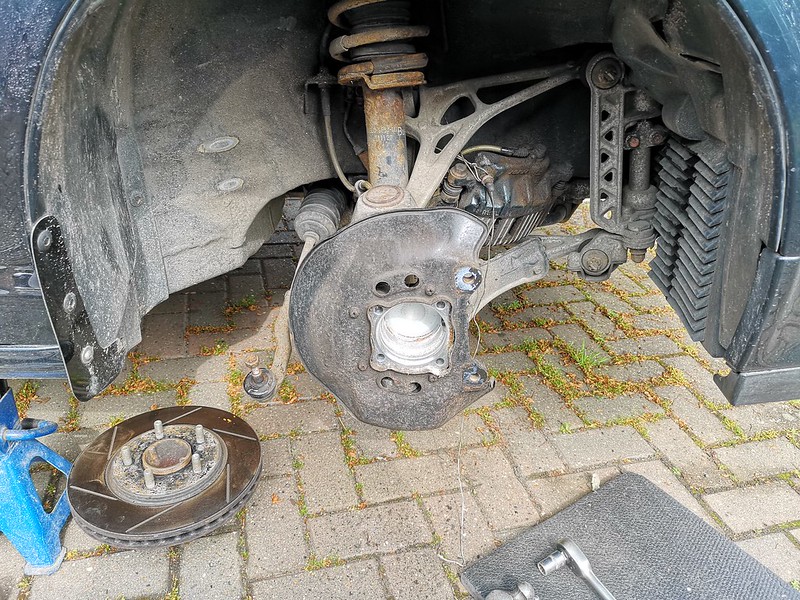
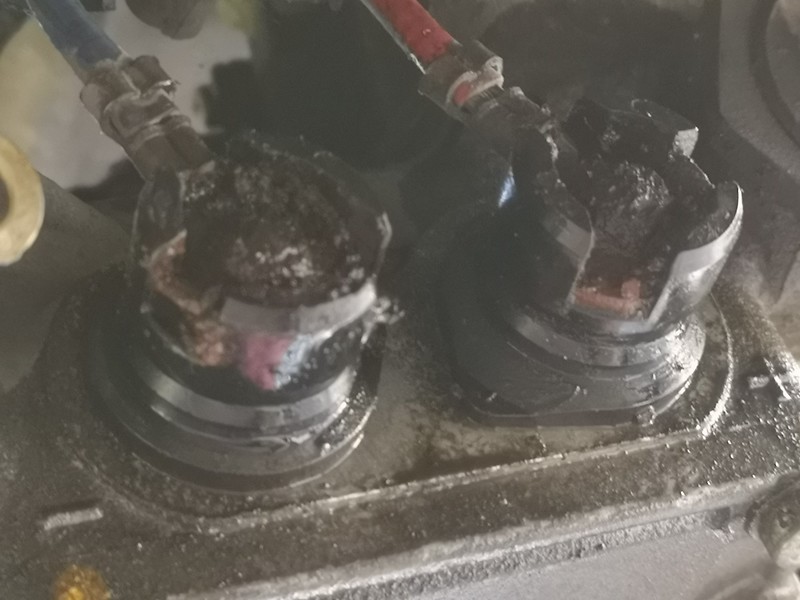
IMG_20180518_153051 by jon sutherland, on Flickr
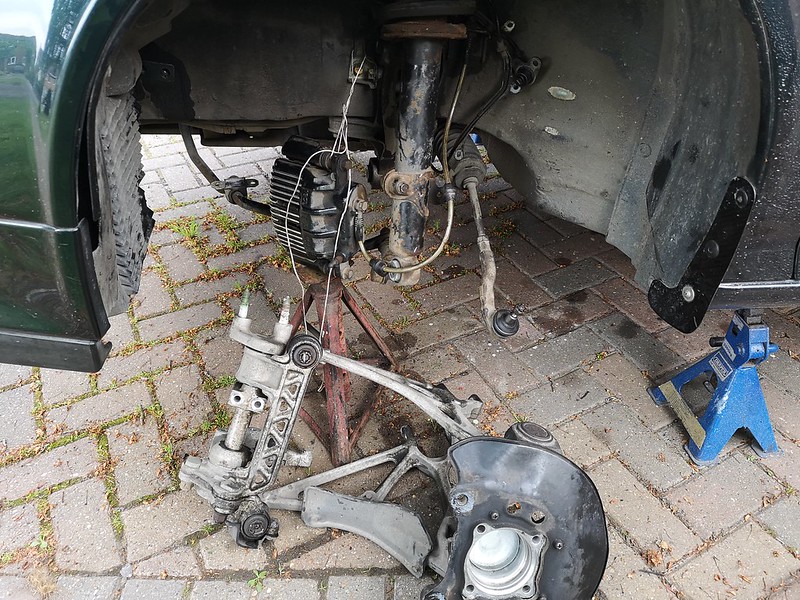
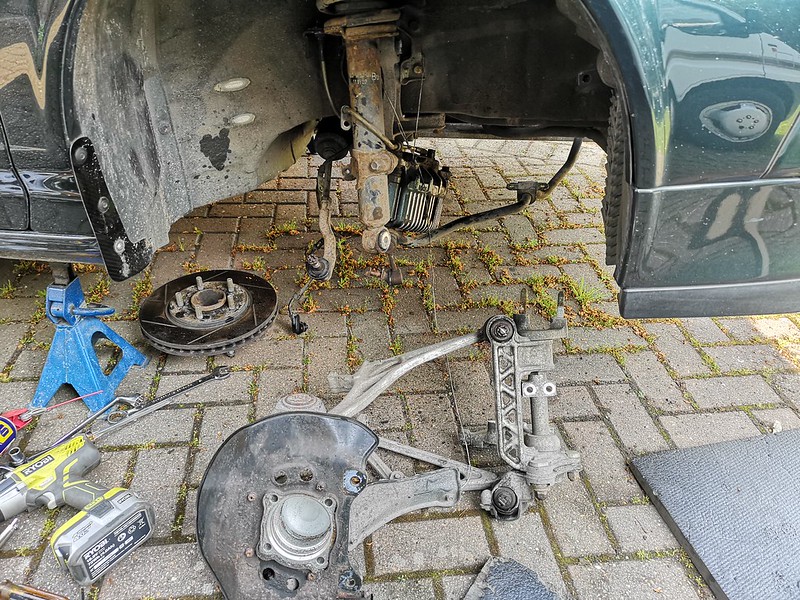
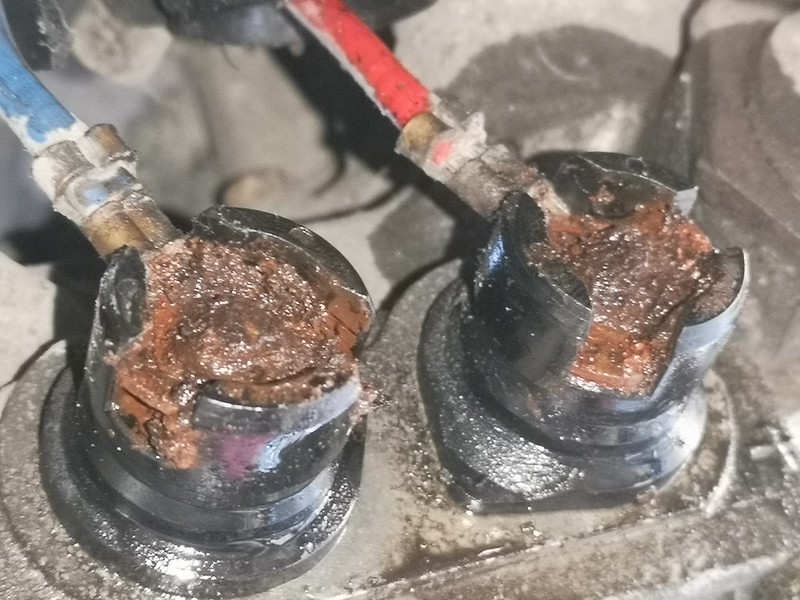
IMG_20180518_153929 by jon sutherland, on Flickr
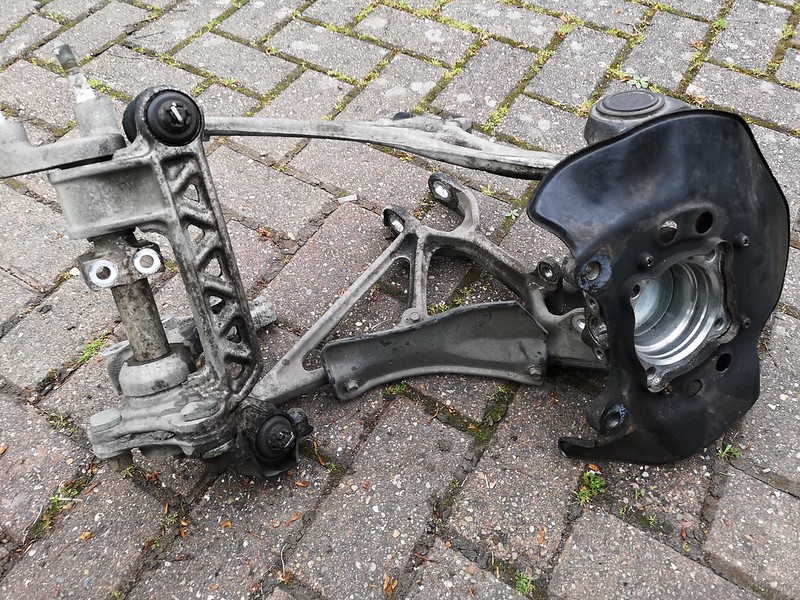
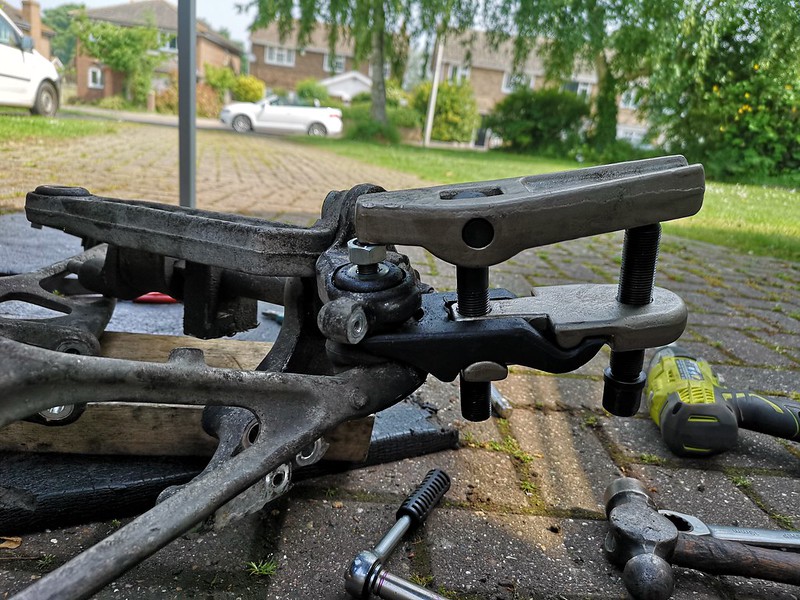
IMG_20180518_154600 by jon sutherland, on Flickr

 Reply With Quote