


Today at Atelier Kaz - ex-Honda R&D, F1, Indy/CART engineer
CCU, A/C Evaporator, Cabin temperature sensor

by , 19-05-2011 at 11:54 PM (4504 Views)
As mentioned in my last post, carried out testing of two CCU board using my NSX.
In the process of Function and Operation test.
Both units were fine after applying the coating so time for a test driving session.
I think Ill stop doing this CCU test driving procedure for the future as none of the unit failed during this session after passing several tests using my NSX.
Instead of the normal 70miles test driving session, I decided to apply only 35miles each on these two units.
As expected, no drama and both units were ready to be released.
One unit will be sent out to the other owner tomorrow.
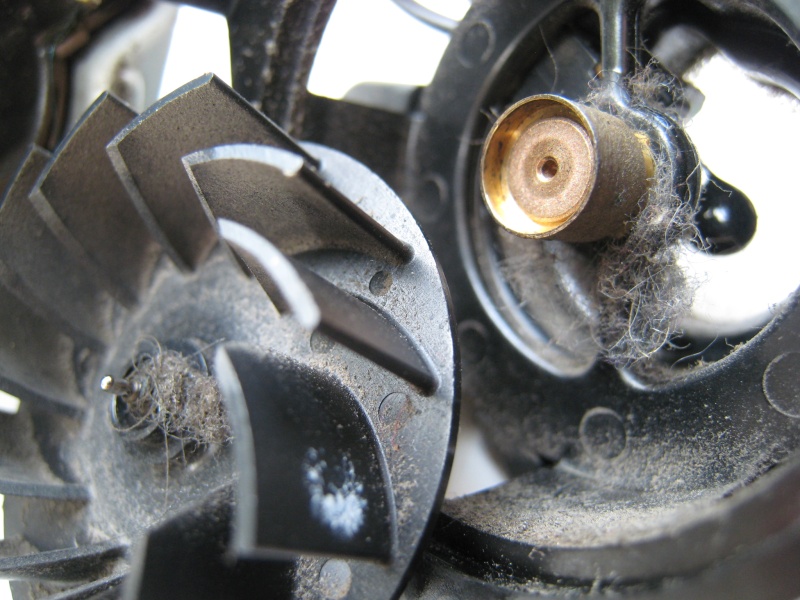
While vacuum filling the cooling system during the TB/WP service, started to clean the A/C evaporator while it is still dry before being washed later.
This is the amount of debris came out just by blowing the compressed air.
In fact, this could be what you were breathing while you were driving .
No wonder why the A/C cabin temperature sensor was so dirty.
Before and after.
Re-installed the sensor behind the centre console and put it back in place in time for the engine fire up.
More to follow.
Kaz
Tags:
cabin temperature sensor,
ccu

- Categories
- Heater, A/C , Electronics
 Email Blog Entry


