Today at Atelier Kaz - ex-Honda R&D, F1, Indy/CART engineer
Eng Refresh, Health Check, etc 31
by , 13-02-2015 at 03:07 PM (2172 Views)
As seen on many NSX, right side of the engine bay had more corrosion than the left side and on this NSX, the bolt holding the parking brake cable bracket seared off. Instead of drilling it out, much quicker and cheaper to replace the bracket with a new one.

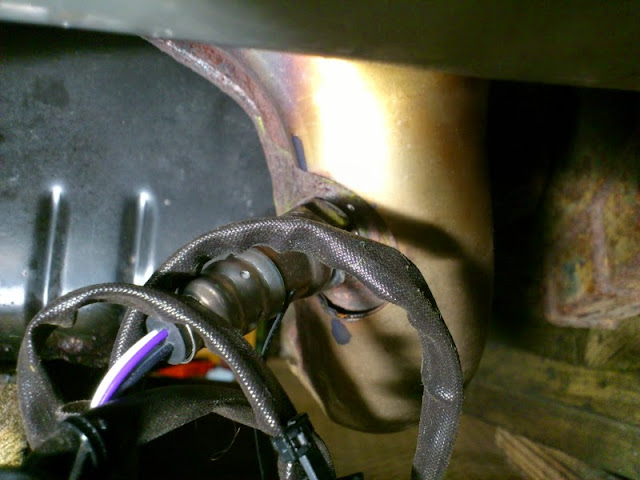
Front O2 sensor.
Old one showed some sort of strange colouring so it was exposed to something in the past. Also, the leaked A/C compressor oil was slowly entering the threaded body beyond the crushable washer so good call for replacing the sensor now.
Once again, thank you to sparkplugs.com in US. New NTK sensor.
You can get the same sensor from RockAuto at much cheaper price but I know their sensor is stocked for long time that it would be from old batch.
If doing DIY and installing it on your own NSX, that will be fine but not for my purpose. Can't take any risks and prefer the latest batch for installing it for another owner so always go through sparkplugs.com.
They get the sensor delivered directly from NTK US so it will take some time.
For some reason, UPS charged me extra amount for the UK Customs fee so I hope I can get some refund later.
Normally, it will take several months so if that happens, will inform the owner.

For the new sensor, have to re-use the cable clamps so using the firewall as the template and installed.

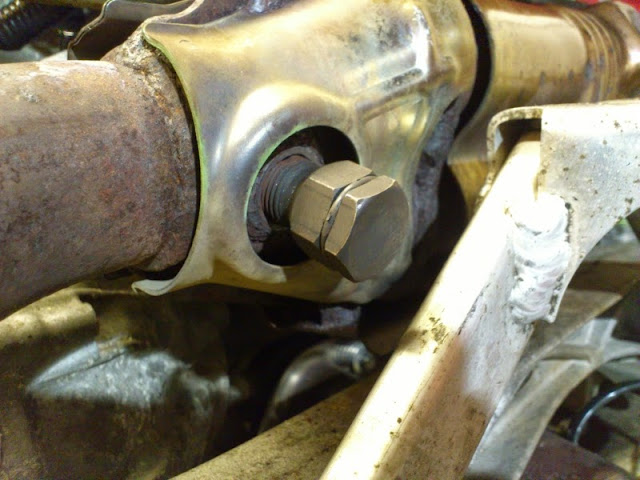
As expected, had big time dealing with the Rear O2 sensor.
This one was really stubborn compared to other NSX and almost felt as if it was cross-threaded in the past.
Never use any sort of penetrating oil even you are not going to re-use the existing sensor and if it doesn't want to come out, always use the heat with proper O2 sensor socket.
If the worst comes, you can cut the sensor body and use impact grade 22mm socket.
The O2 sensor tool that looks like a standard 22mm deep socket with slit at the side won't work for these seized sensor. Always use the impact grade one that can attach the breaker bar at the side or the one with extension bar already attached to the body.
After cooking the header to nice red for about 10min, finally it started to move but still making very heavy squeaking noise. With the heat shield obstructing the area, the key is to heat up only the header and try to make temperature difference between the sensor body and the header thread.
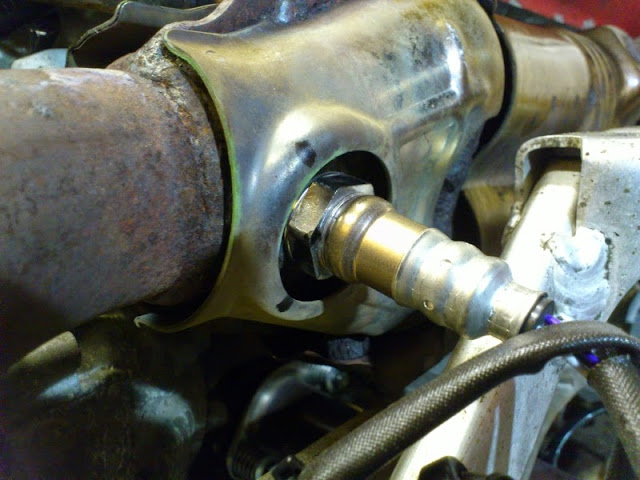
Old Rear sensor. Too hot to toch.
Again, covered in uneven colour but better than the front side.
As expected, the thread was partially contaminated so re-threaded it carefully before installing the new sensor.

Again, re-using the cable clamps so positioning them carefully as you don't want to melt the cable resulting in damaged ECU.
New sensor installed.


Tags:
o2 sensor

- Categories
- TB/WP/Valve Service
 Email Blog Entry