


Today at Atelier Kaz - ex-Honda R&D, F1, Indy/CART engineer
TB/WP/Valve 04
by , 02-04-2011 at 11:10 PM (2008 Views)
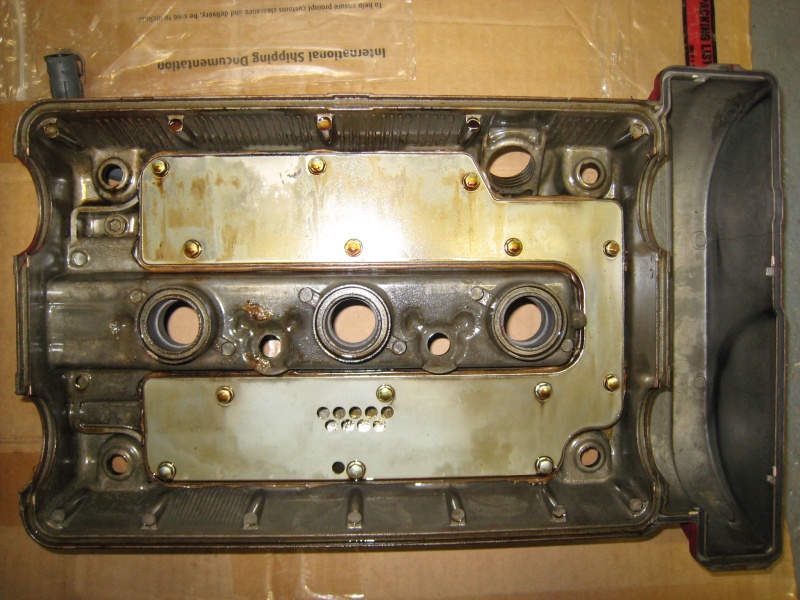
Front and Rear valve Cover removed.
On the later model, the routing of blowby gas was changed to prevent the issue of excessive oil mist entering the intake manifold under high G cornering.
Therefore, on this model, the rear valve cover tends to get black sticky gunk than the front.
Same on the rear bank cam holders.

In the process of cleaning the valve covers and front/rear TB mid cover.
Once its done, time to install the new gaskets and seals with small amount of liquid gasket to hold them in place.
By doing this now, it will allow liquid gasket to cure in time for the re-asembly process.
Updated 23-04-2011 at 11:12 PM by Kaz-kzukNA1
Tags:
valve cover

- Categories
- TB/WP/Valve Service , Engine/Tyre
 Email Blog Entry


